Challenge
The system must handle with minimum changeover two components that are physically different in size and shape. A major consideration in this application was the complexity and fragility of the component parts. The system must not cause any damage to these parts, which have a detailed periphery.
The system must inspect from all three planes: 1. Top for damage and OCR (optical character recognition); 2. Bottom for diameter and damage; 3. Side for damage, height and profile. The system must detect and expel 100% of those REJECT components, but critically must not damage the components.
Additionally, the customer required a complete system with minimum requirements below:
- The system must be capable of operating at up to a rate of 2000 parts/minute.
- It must be designed to meet food and GMP standards.
Solution
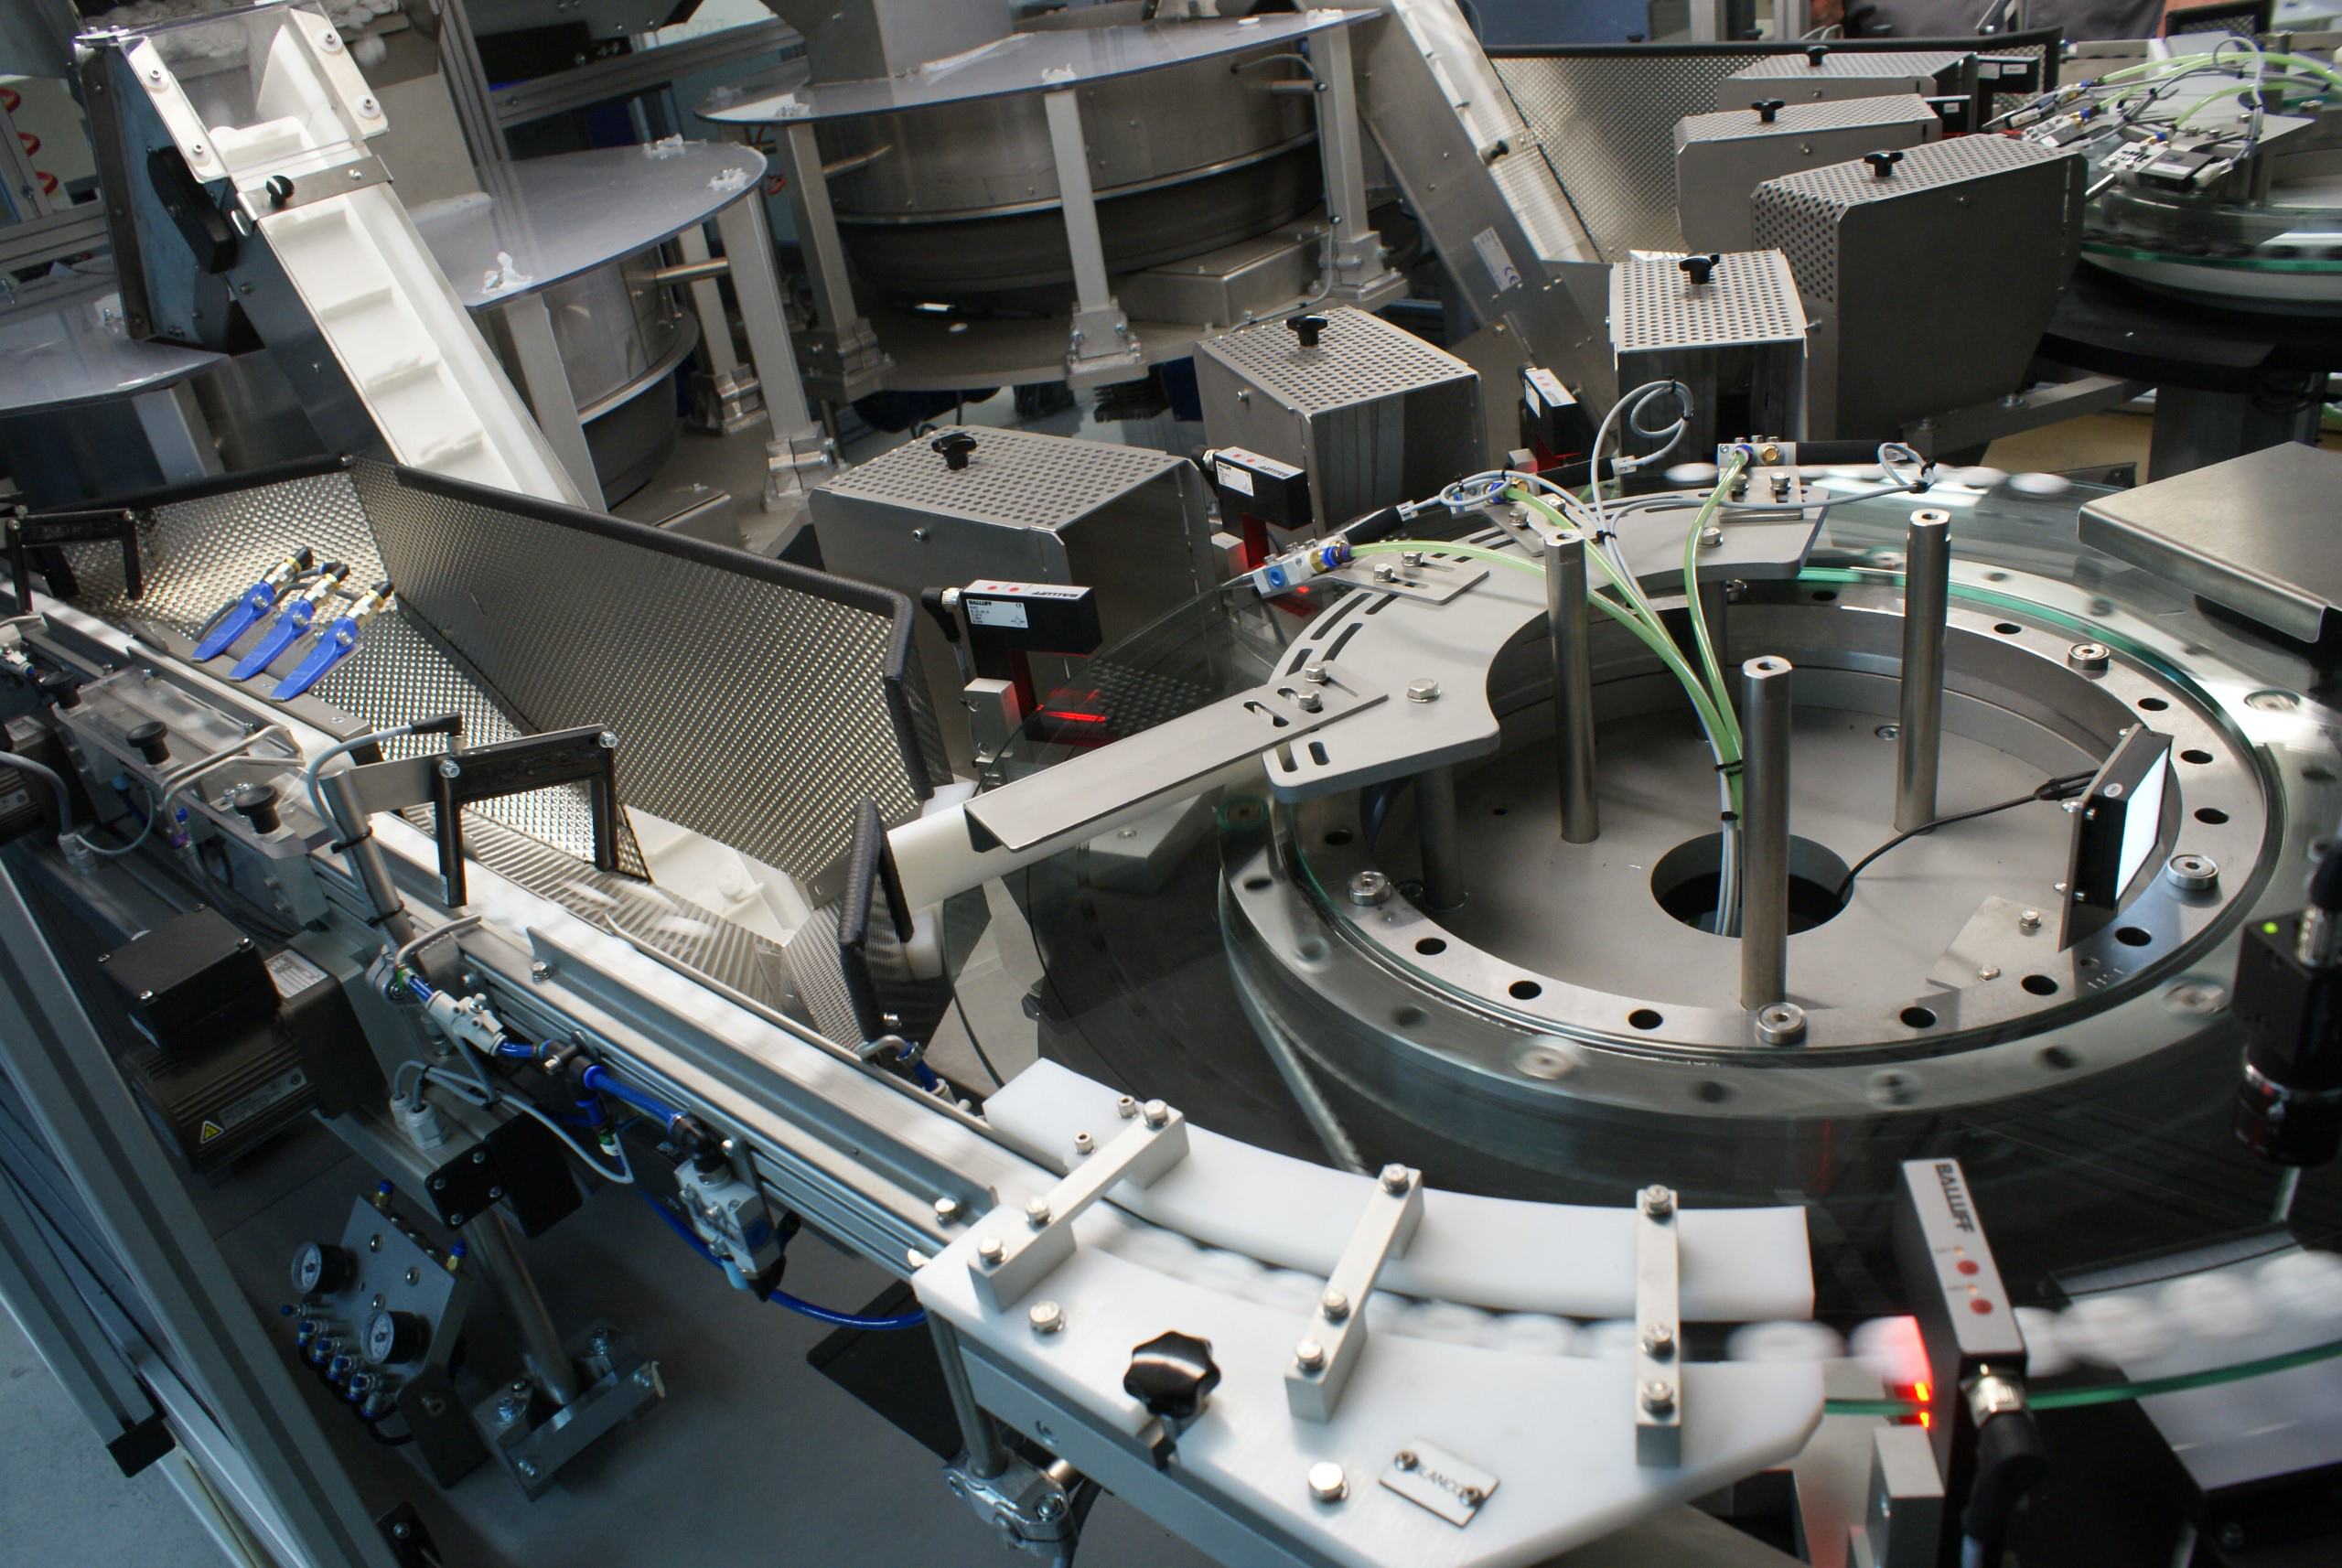
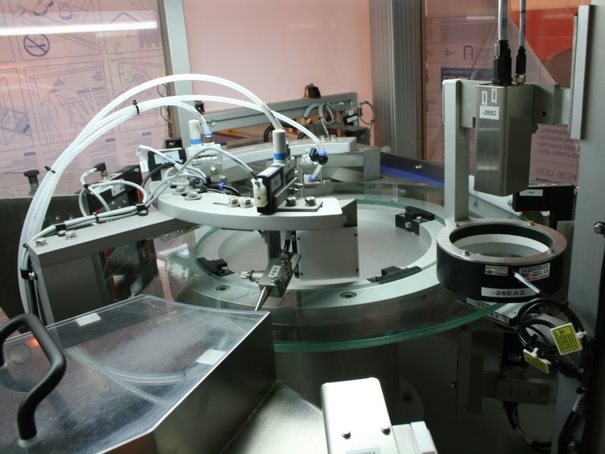
To enable the system to deliver 2000 parts per minute the design utilised a twin headed system with duplicate rotary feeders, conveyors, glass disc and reject segregation, with a common good part collection. This high speed handling solution involved the innovative idea of a “rotating glass disc”.
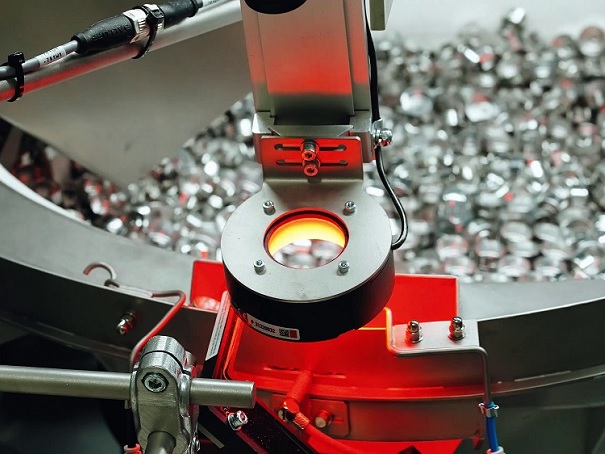
The components are fed from a centrifugal feeder, onto a conveyor system and fed individually onto a rotating glass disc. Due to the design of the components, they have a unique tendency to “castle or double up”, causing problems in the handling and inspection, resulting in false rejects. These problems are one of RNA strengths and were solved with the expert use of gating and a non contact accumulation system, while still ensuring that there was no damage caused to the components.
An encoder and trigger sensor were fitted on the rotating glass disc. Once a component part has passed through the trigger sensor an encoder count is stored. The PLC then tracks the components around the disc triggering the appropriate cameras and ejecting reject components. Good components continue around the disk being gently swept off down a chute into a collection box.
A PLC monitors a count of all GOOD and REJECT the components from both heads which maintain correlation over continuous 24/7 production.
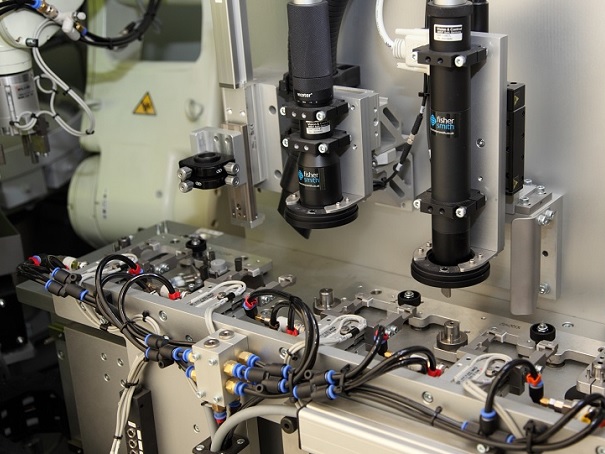
The cameras used in the inspection system utilise the latest technology high resolution cameras with Telecentric lens and lighting. This was required to achieve repeatability of measured values, with a one-micron resolution incorporating 20 microns accuracy over 10,000 measured parts.


